Raspberry Pi – HDMI Display
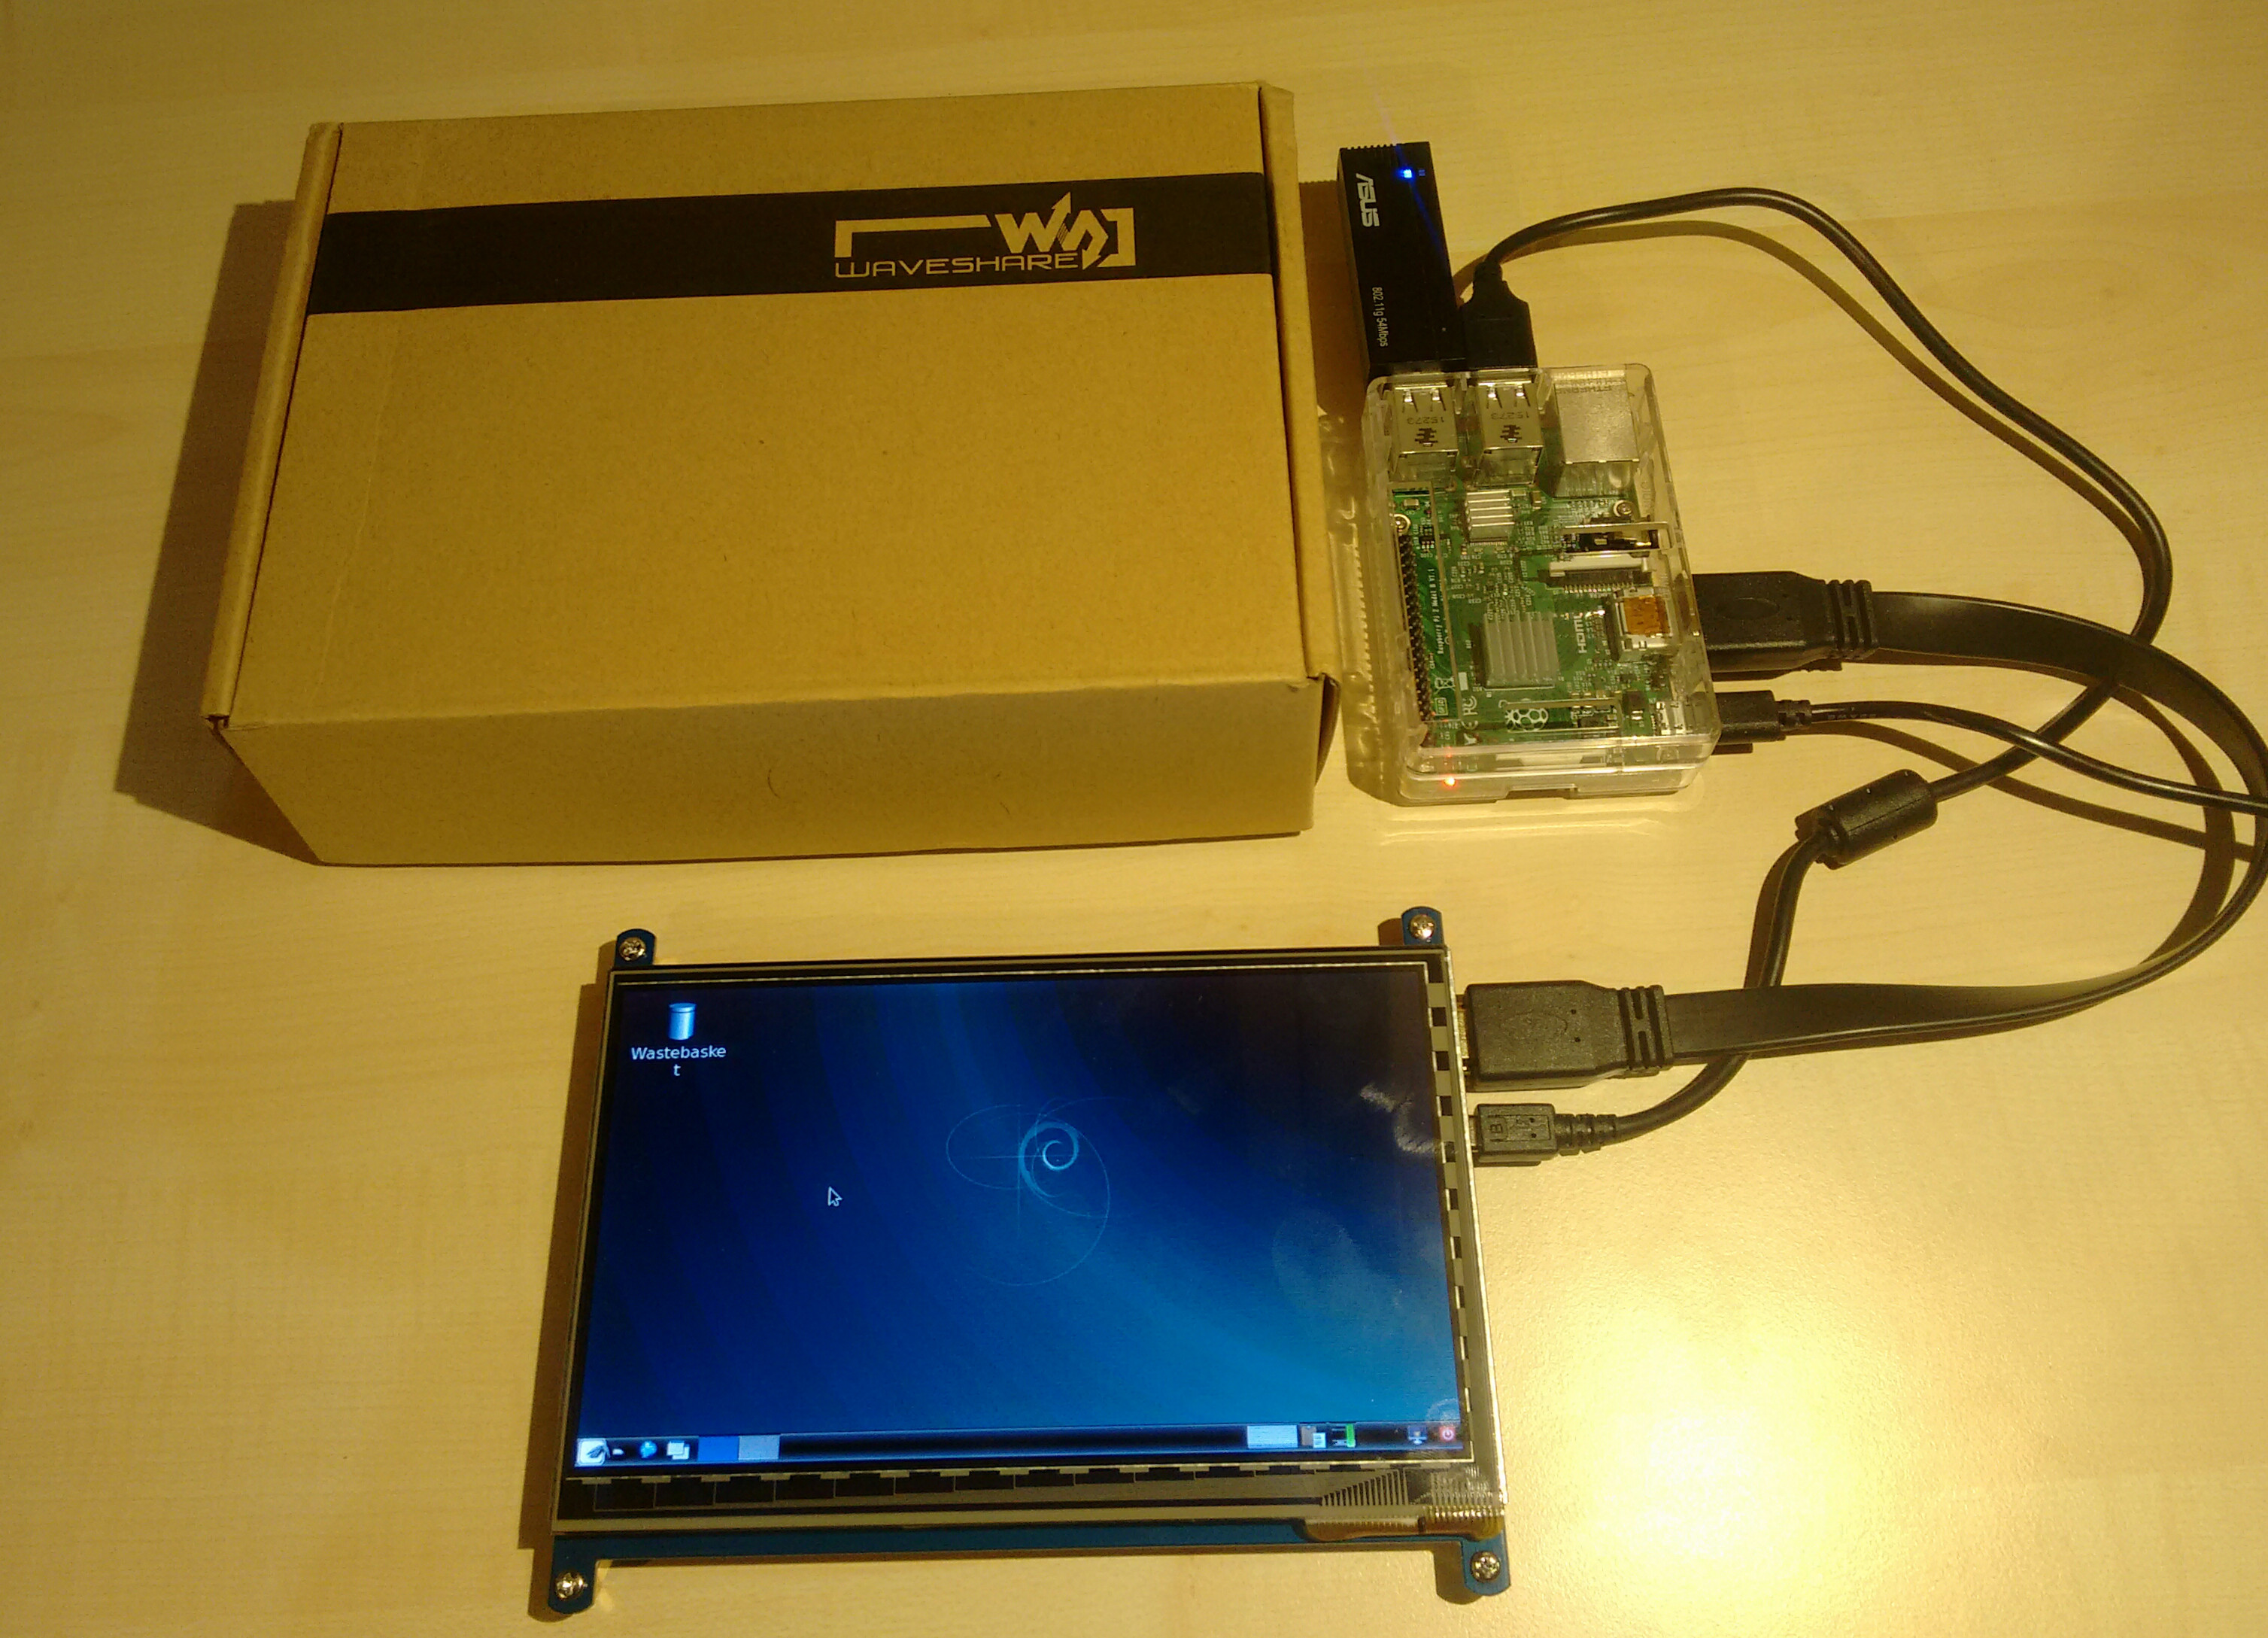
Connect a 7″ HDMI touch display to a Raspberry Pi:
Here a short set-up tutorial about the waveshare 7″ touchscreen for the Raspberry Pi is described.
Editing the configuration file
The boot configuration of the Raspberry Pi can be found on the boot directory/partition. Edit it with:
$sudo nano /boot/config.txt
Expand the file with the following arguments:
# HDMI output Resolution 800:480
hdmi_group=2
hdmi_mode=1
hdmi_mode=87
hdmi_cvt 800 480 60 6 0 0 0
# Maximize current on USB ports
max_usb_current=1
Connecting the Display
After the configuration for the display is set, it can be connected to the Raspberry Pi. Booth the HDMI and the USB cable must be pluged into the touch display and the Raspberry Pi.
Install USB touchscreen driver
“derekhe” has written a python driver for the USB touchscreen. It is easy to install and the functionality is quite well.
https://github.com/derekhe/waveshare-7inch-touchscreen-driver
The following steps, which are necessary to install the driver, are originally from “derekhe”:
git clone https://github.com/derekhe/waveshare-7inch-touchscreen-driver
cd wavesahre-7inch-touchscreen-driver
chmod +x install.sh
sudo apt-get update
sudo ./install.sh
sudo restart
During the installation maybe the following error occurs “sudo: pip-3.2: command not found” then it is necessary to change some lines in “install.sh” from:
sudo pip-3.2 install python-uinput pyudev
#if pip-3.2 can't be found, please use pip3
#sudo pip3 install python-uinput pyudev
to:
#sudo pip-3.2 install python-uinput pyudev
#if pip-3.2 can't be found, please use pip3
sudo pip3 install python-uinput pyudev
Finished
All done! After this steps, the waveshare 7″ display should work!

Leave a Reply