Hacking TL-MR3020 – Part 1 – Firmware dump over TFTP
Firmware dump of the TP-Link TL-MR3020
This tutorial will show, how it is possible to make a firmware dump of the TP-Link TL-MR3020 Router.
As a possible method the /dev/mtd* data will be transferred over tftp.
Set up the linux desktop machine
Install required packages on the desktop:
$sudo apt-get install xinetd tftpd tftp
Configure the tftp xinetd:
$sudo nano /etc/xinetd.d/tftp
Add the following to the file:
service tftp
{
protocol        = udp
port            = 69
socket_type     = dgram
wait            = yes
user            = nobody
server          = /usr/sbin/in.tftpd
server_args     = /tftpboot
disable         = no
}
Create folder for tftp files:
$sudo mkdir /tftpboot
$sudo chmod -R 777 /tftpboot
$sudo chown -R nobody /tftpboot
Create test file and put some text in it:
nano /tftboot/test
Restart the xinetd service.
sudo service xinetd restart
cd ~/Downloads/
tftp 10.0.0.100
tftp> get test
Sent 188 bytes in 0.0 seconds

tftp> q

cat test
Create the tftp dummy files, which will be later transferred:
$touch /tftboot/uboot.img
$touch /tftboot/kernel.img
$touch /tftboot/rootfs.img
$touch /tftboot/config.img
$touch /tftboot/art.img
$sudo chmod -R 777 /tftpboot
$sudo chown -R nobody /tftpboot
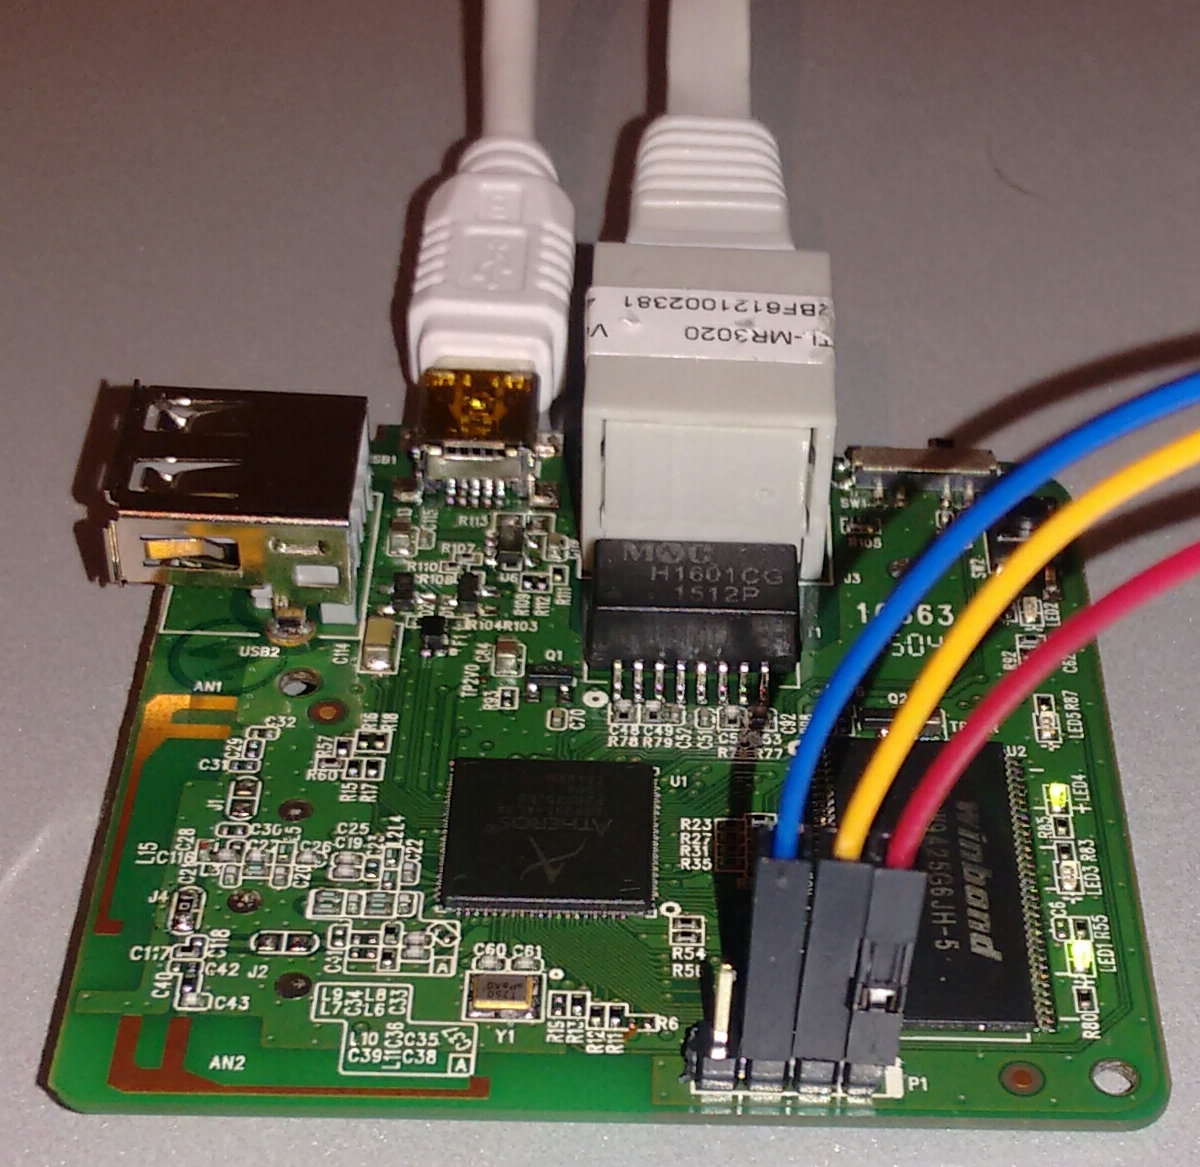
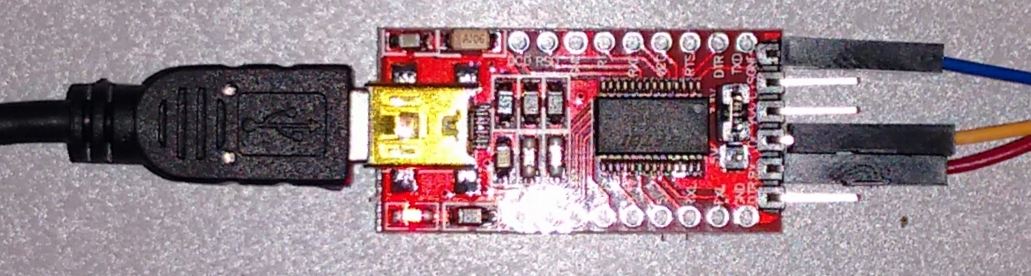
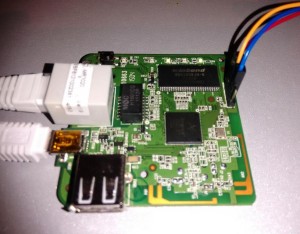
Connect a serial console and a network connection to the embedded device. Now login to the root shell with “root/5up”.
# cat /proc/mtd
dev:    size   erasesize  name
mtd0: 00020000 00010000 "boot"
mtd1: 00100000 00010000 "kernel"
mtd2: 002c0000 00010000 "rootfs"
mtd3: 00010000 00010000 "config"
mtd4: 00010000 00010000 "art"
With the onboard tftp command of the TP-Link router the images can be send to the desktop with the standard IP-Address 192.168.0.100:
# tftp -l /dev/mtdblock0 -r uboot.img -p 192.168.0.100
# tftp -l /dev/mtdblock1 -r kernel.img -p 192.168.0.100
# tftp -l /dev/mtdblock2 -r rootfs.img -p 192.168.0.100
# tftp -l /dev/mtdblock3 -r config.img -p 192.168.0.100
# tftp -l /dev/mtdblock4 -r art.img -p 192.168.0.100
After that on the desktop machine there should be the following images:
$ ls -lah /tftboot/
total 4.1M
drwxrwxrwx  2 nobody root 4.0K Jan 10 18:05 .
drwxr-xr-x 24 root   root 4.0K Jan 10 15:39 ..
-rwxrwxrwx  1 nobody matt  64K Jan 10 18:05 art.img
-rwxrwxrwx  1 nobody matt  64K Jan 10 18:04 config.img
-rwxrwxrwx  1 nobody matt 1.0M Jan 10 18:04 kernel.img
-rwxrwxrwx  1 nobody matt 2.8M Jan 10 15:57 rootfs.img
-rwxrwxrwx  1 nobody matt 128K Jan 10 18:04 uboot.img
As a result we have five “images” which contains different data of the TP-Link TL-MR3020 router. This can later be analyzed.

Hi,
ich versuche das mal nach zu basteln. Ich habe den mr3020 über uart an mein Lappi geschlossen und bekomme wenn er startet auch alle bootmessages, allerdings ohne der login prompt. Im openWRT wiki habe ich gelesen, dass man Backspace drücken soll dann erscheint das login prompt. Das ich auch mit screen, minicom, picocom, und sogar auf Windows mit Realterm leider erfolglos probiert xD. Hast du eine Idee wieso das nich funktioniert? Gibt es irgendwelche grundlegenden Einsellungen die ich übersehn habe oder so?
mfg superaffenarsch
Hallo,
der Login Probmt erscheint erst, wenn man die Enter Taste betätigt. Eventuell könnte es auch sein, dass die TX Leitung nicht korrekt gesteckt/kontaktiert ist, sodass nur Daten empfangen werden können, jedoch nichts zurückgesendet werden kann. Zum Testen kann man bei dem UART Adapter auch einfach direkt von RX auf TX stecken und bekommt somit ein Echo zurück.