Open Source Risc-V on the Xilinx Artix-7 35T Arty – Part 1
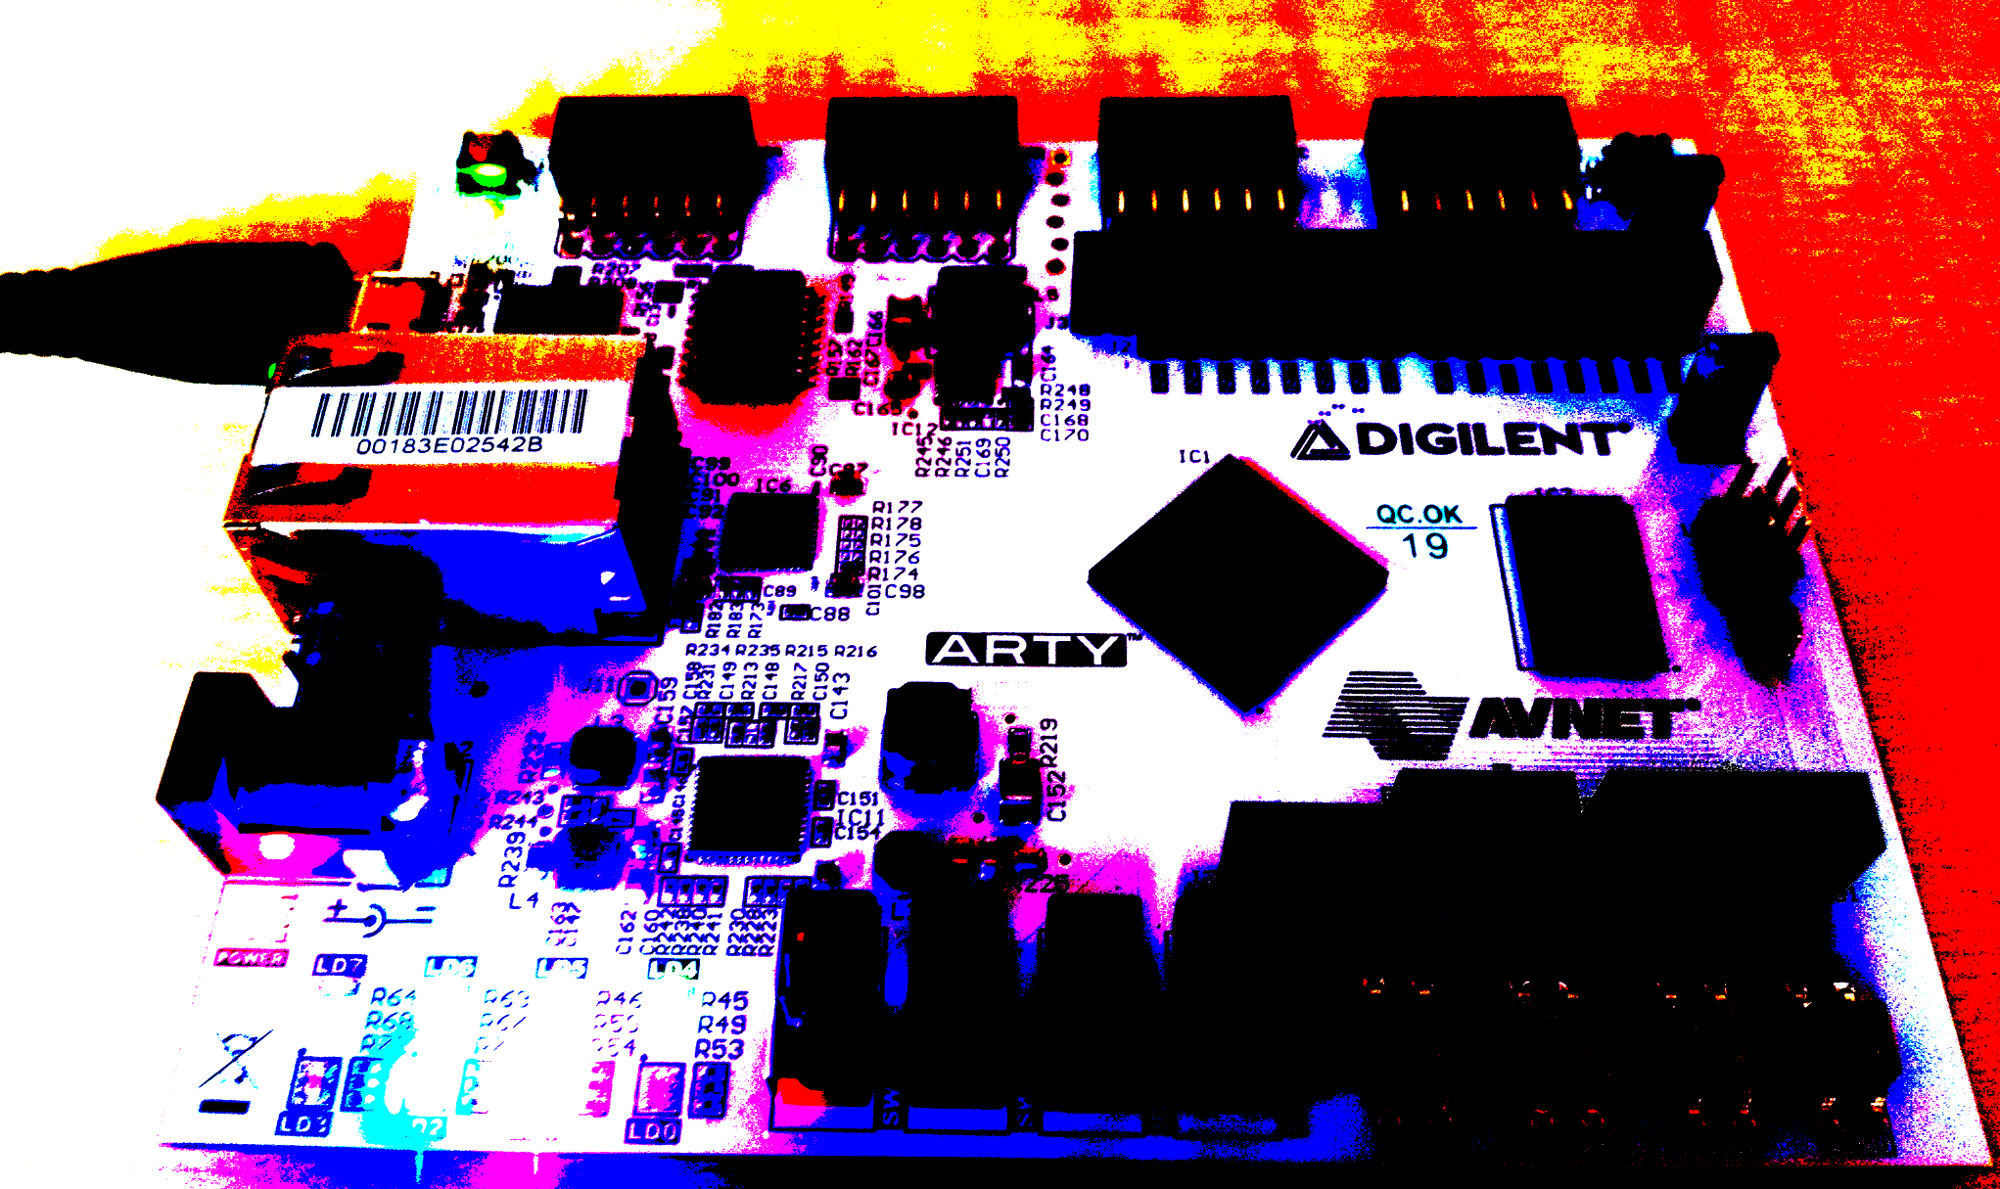
Configuring and programming the 100 € Xilinx Arty development board with an open source implementation of the Risc-V ISA from SiFive.
RISC-V is an open instruction set architecture (ISA). It is based on reduced instruction set computing (RISC), with a “small” instruction set. In contrast to most ISAs like x86 and ARM, the RISC-V ISA can be freely used for any purpose, permitting anyone to design, manufacture and sell RISC-V chips and software. The project startet in 2010 at the University of California, Berkeley and has grown rapidly.
Important is, that RISC-V, it not a processor! It is an ISA specification, with different implementations. However there is a reference processor implementation (Rocket), chip generation tool and a GNU compiler toolchain provided by the RISC-V Foundation.
SiFive, is the commercial company, which was founded by some of the inventors of RISC-V. They have their first ASIC implementations, e.g. the HiFive1. The integrated SiFive E31 Coreplex is similar to the Freedom E300, which could be placed on the Xilinx Arty board.
Installing the Software
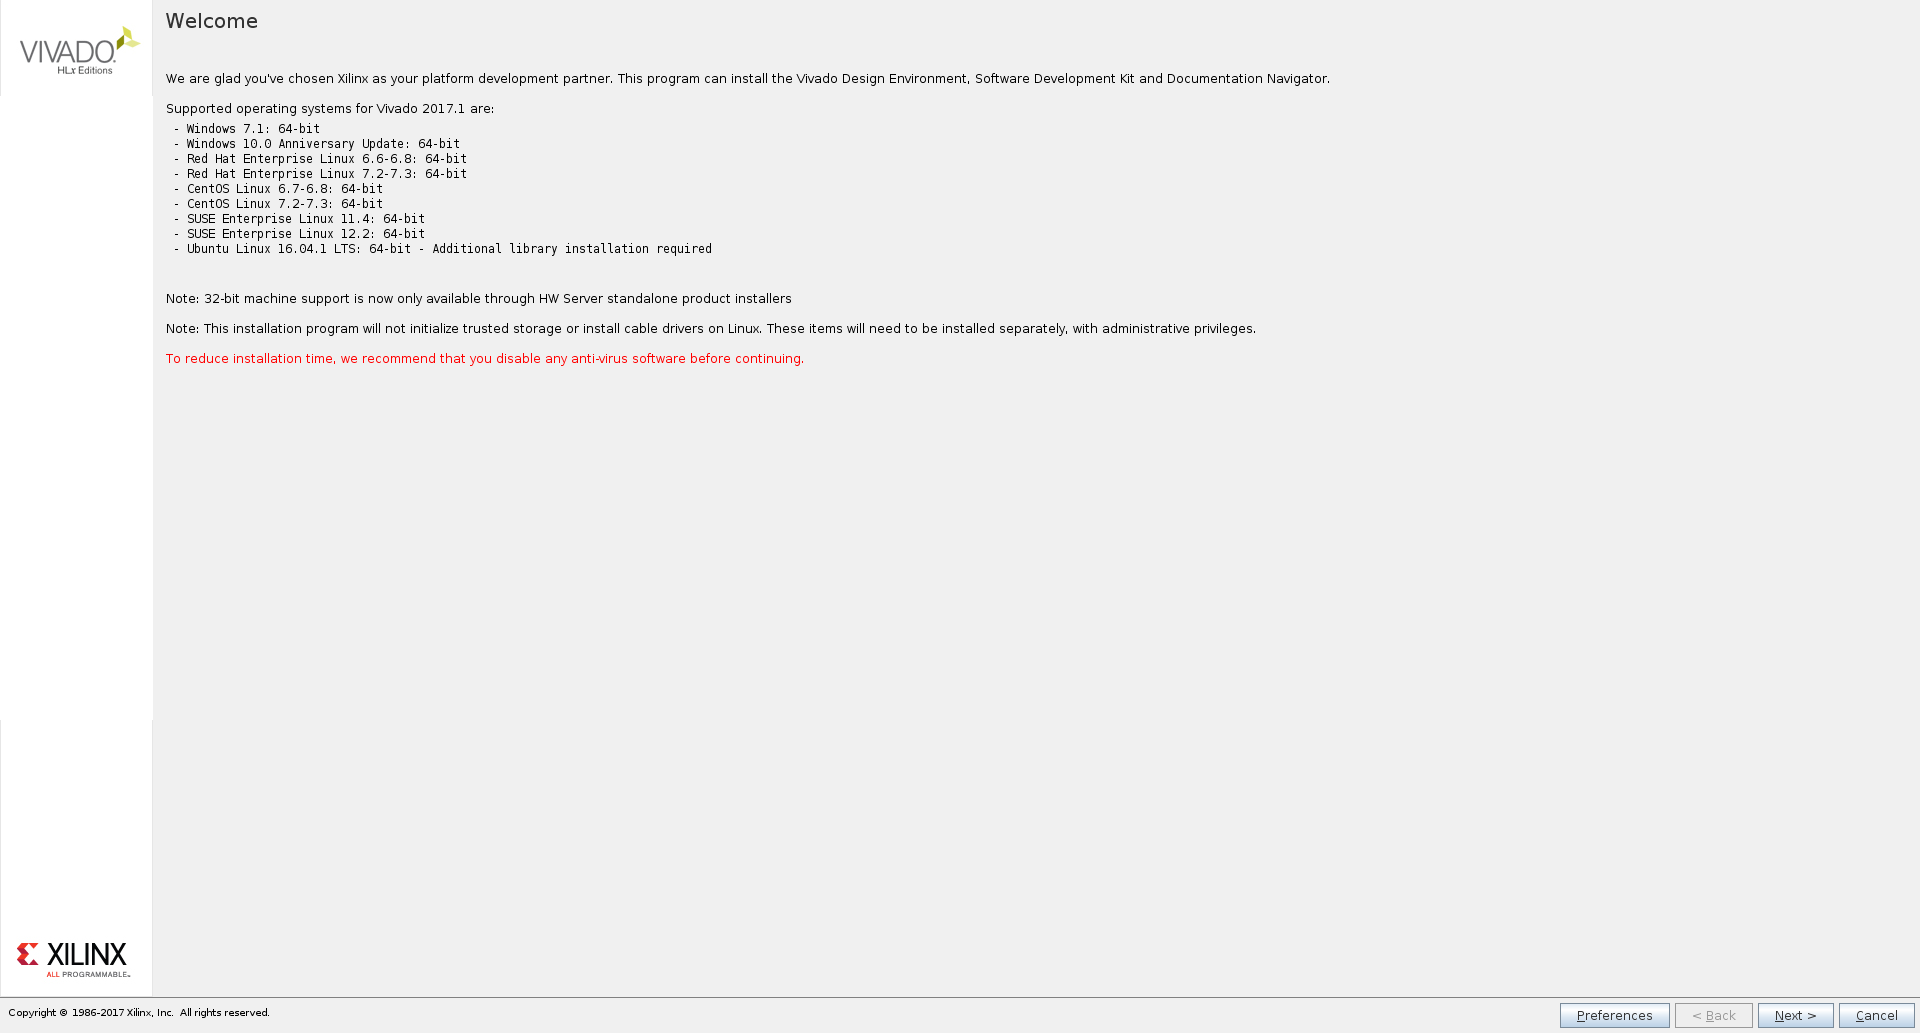
There are several ways to install the Xilinx Vivado IDE. One possibility is to download the full package – Xilinx_Vivado_SDK_2017.1_0415_1.tar.gz. After the download go to the download folder and extract vivado and change into the folder.
$ tar -xvf Xilinx_Vivado_SDK_2017.1_0415_1.tar.gz
$ cd Xilinx_Vivado_SDK_2017.1_0415_1/
Start the setup for installing Vivado.
$ $ ./xsetup
Installation of the Vivado Toolchain
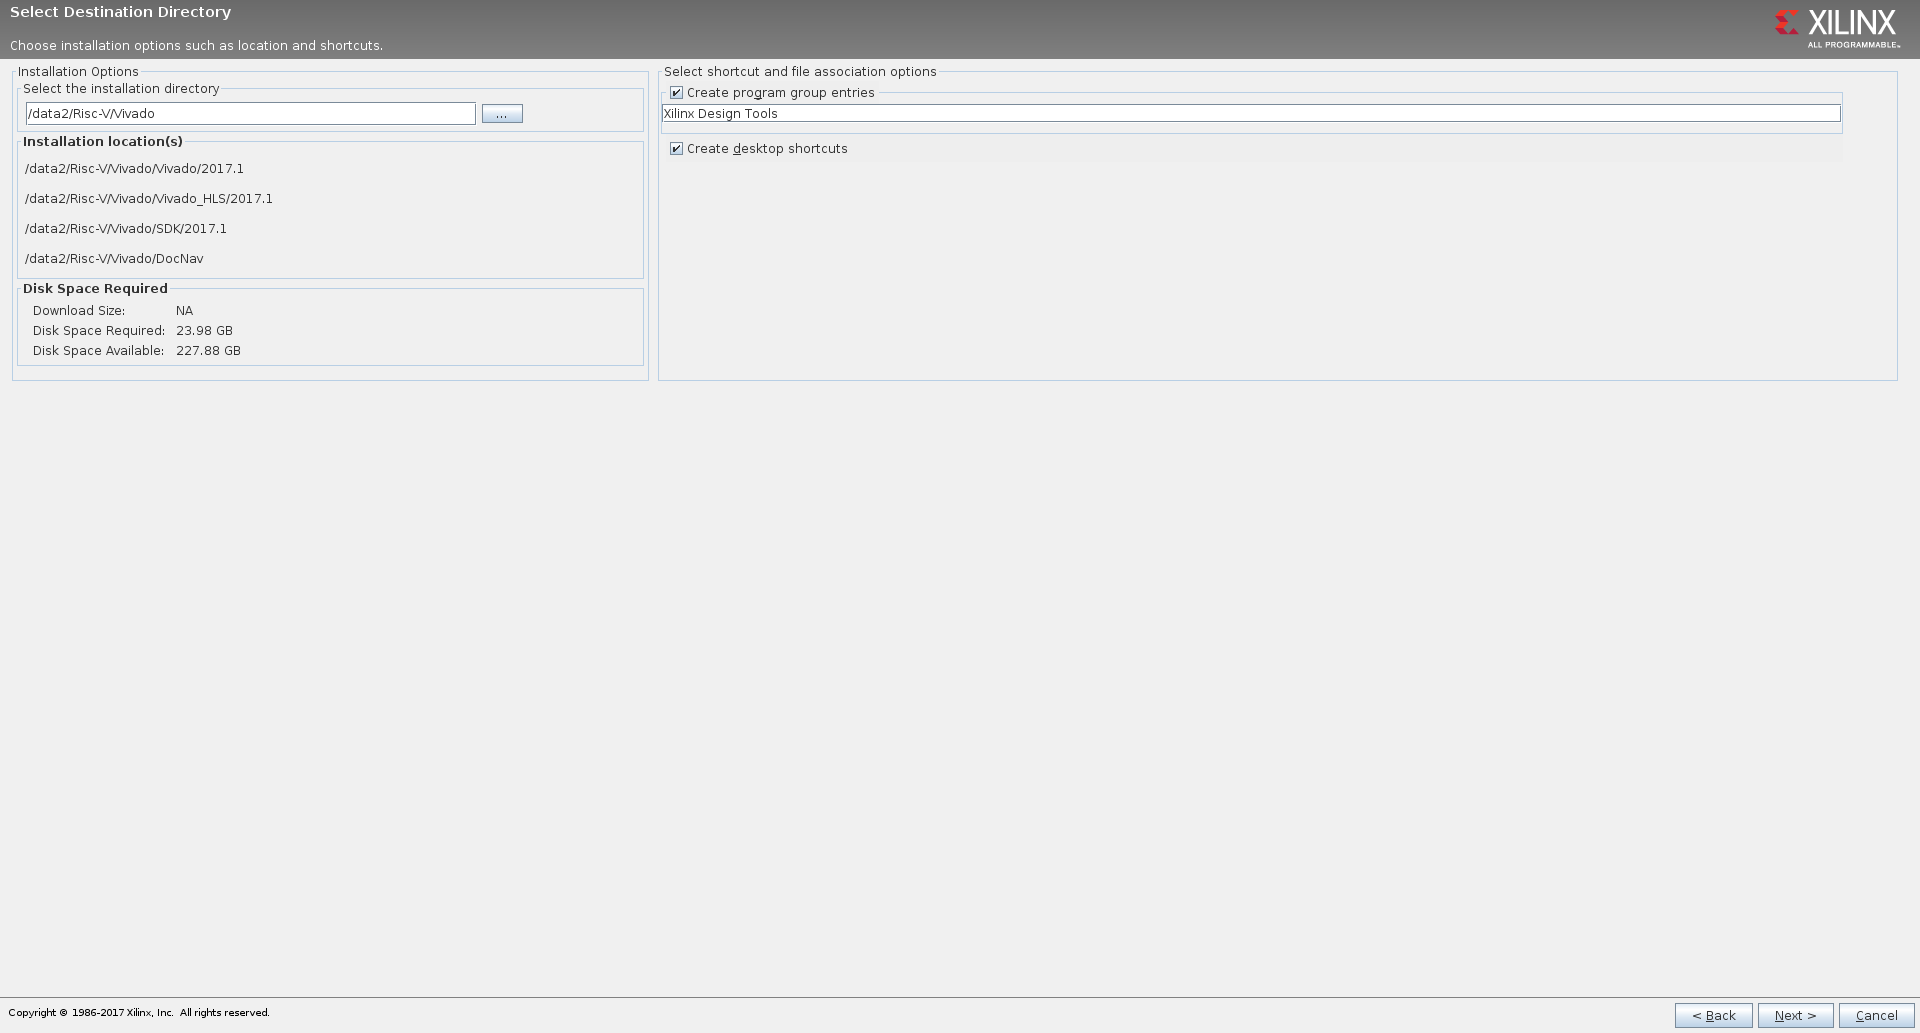
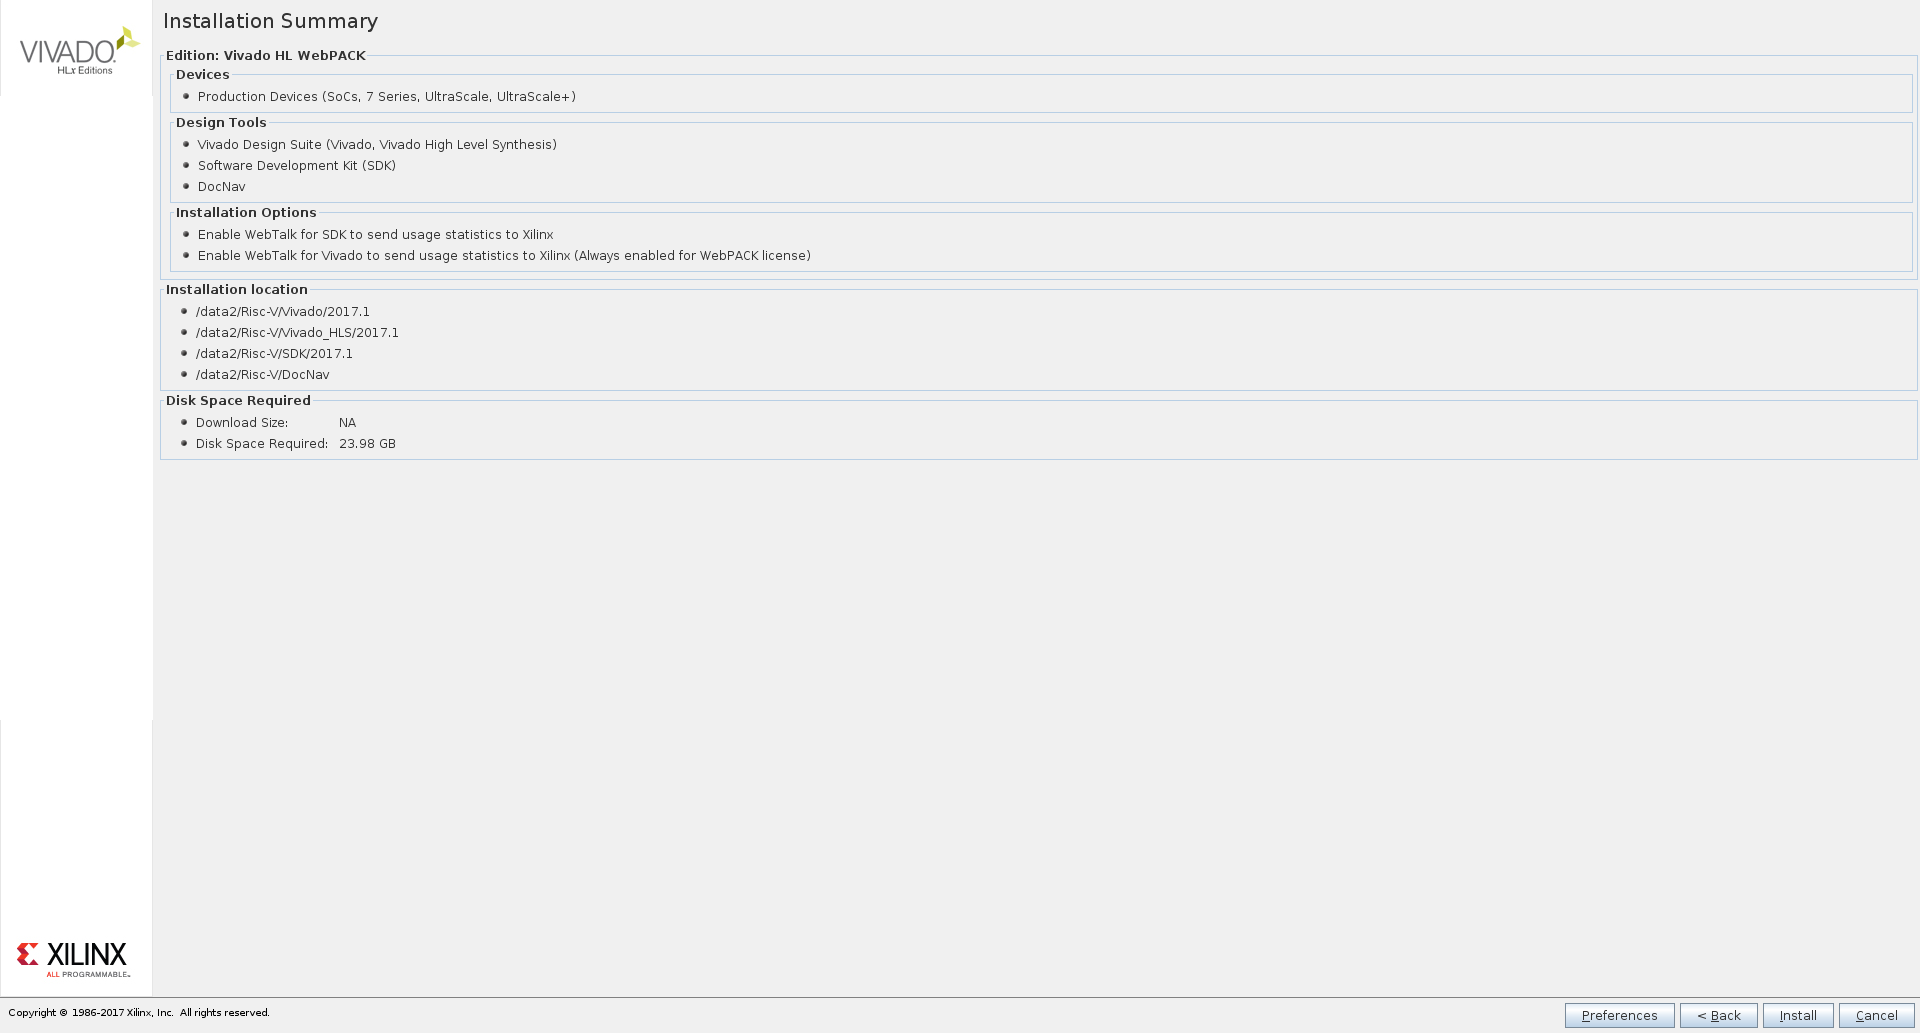
Click through the installation and create an installation directory.

Install the Xilinx Cable drivers.
$ cd /data2/Risc-V/Vivado/Vivado/2017.1/data/xicom/cable_drivers/lin64/install_script/install_drivers
$ sudo ./install_drivers
Install the BSP for the Digilent Arty Board.
$ cd /tmp
$ git clone https://github.com/Digilent/vivado-boards.git
$ sudo cp -r vivado-boards/new/board_files/* /data2/Risc-V/Vivado/Vivado/2017.1/data/boards/board_files/
Open the bashrc with an editor.
$ vim ~/.bashrc
Add the PATH export of the Vivado toolchain to the end of the bashrc
export PATH=$PATH:/data2/Risc-V/Vivado/Vivado/2017.1/bin
Add Olimex to udev
Set the udev rules to allow the device to be accessed by the plugdevgroup to allow access without sudo.
$ sudo vim /etc/udev/rules.d/99-openocd.rules
Add this to the file.
# For the Olimex Device
SUBSYSTEM=="usb", ATTR{idVendor}=="15ba",ATTR{idProduct}=="002a", MODE="664", GROUP="plugdev"
SUBSYSTEM=="tty", ATTRS{idVendor}=="15ba",ATTRS{idProduct}=="002a", MODE="664", GROUP="plugdev"
Add the user to the plugdev group and reload the udev rules.
$ sudo usermod -a -G plugdev >>username<<
$ sudo udevadm control --reload-rules
SiFive FPGA and Software
Checkout the Software for the FPGA.
Time depends highly on the internet connection.
$ cd /data2/Risc-V/
$ git clone --recursive https://github.com/sifive/freedom
Setting up the SDK
$ cd /data2/Risc-V/
$ git clone --recursive https://github.com/sifive/freedom-e-sdk.git
$ cd freedom-e-sdk
$ sudo apt-get install autoconf automake libmpc-dev libmpfr-dev libgmp-dev gawk bison flex texinfo libtool libusb-1.0-0-dev make g++ pkg-config libexpat1-dev zlib1g-dev
$ make tools
In the folder “freedom-e-sdk” the Makefile must be edited
$ vim Makefile
Change the BOARD and PROGRAM in the Makefile to the following.
# Default target
BOARD ?= freedom-e300-arty
PROGRAM ?= demo_gpio
Build the software for the Arty board.
$ make software
Install Risc-V GNU Toolchain to the system.
$ cd riscv-gnu-toolchain
$ ./configure
$ sudo make
After that it it possible to translate the software to integrate it in the mcs file.
$ cd ../software/demo_gpio/
$ risc64-unknown-elf-objcopy -O binary demo_gpio demo_gpio.bin
Change to the “freedom” folder.
And add the demo_gpio to the mcs build.
$ cd /data2/Risc-V/freedom/
$ vim fpga/e300artydevkit/Makefile
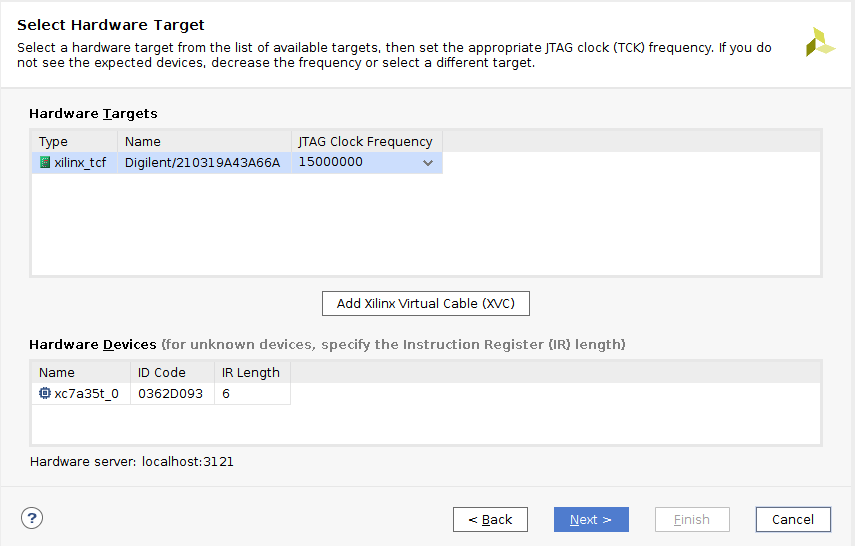
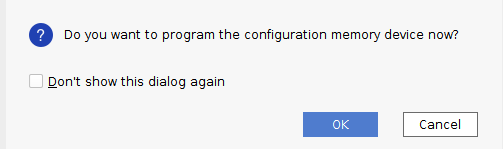
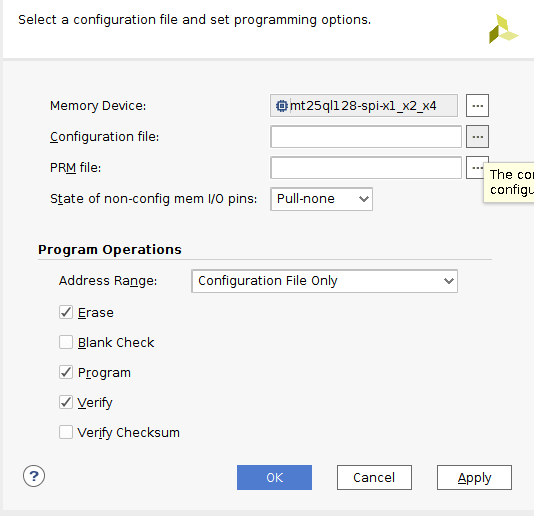
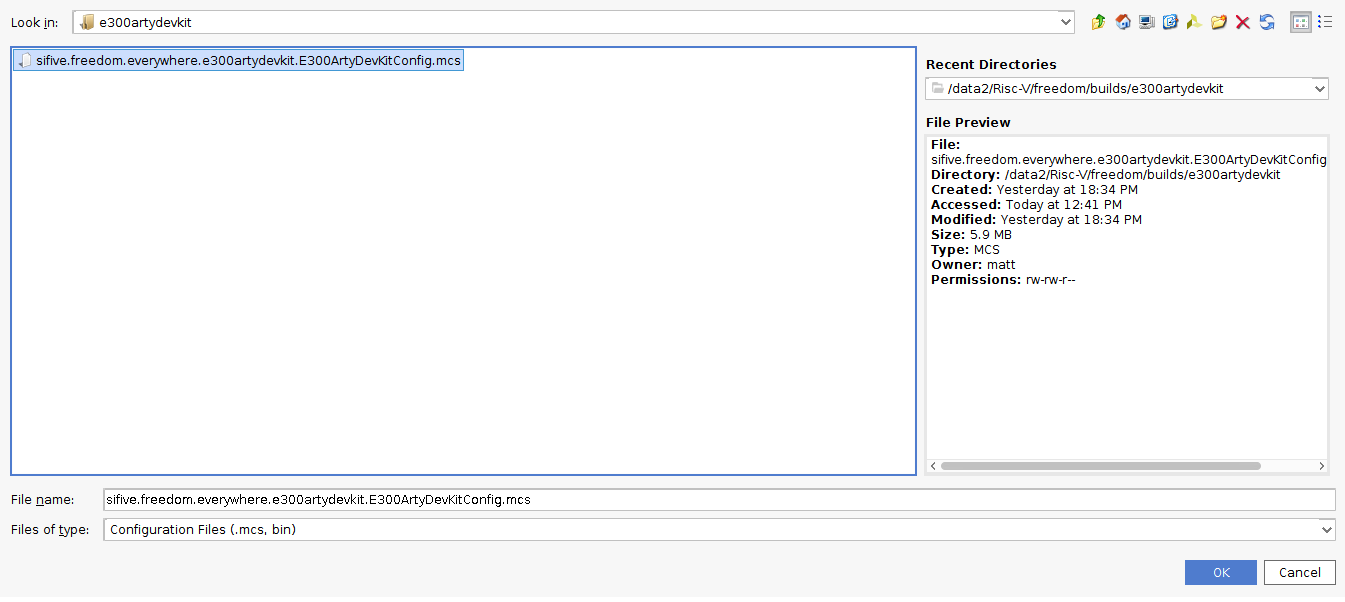
Build the MCS, which includes the bitstream.$ make -f Makefile.e300artydevkit mcsNow it is time to program the ARTY board.
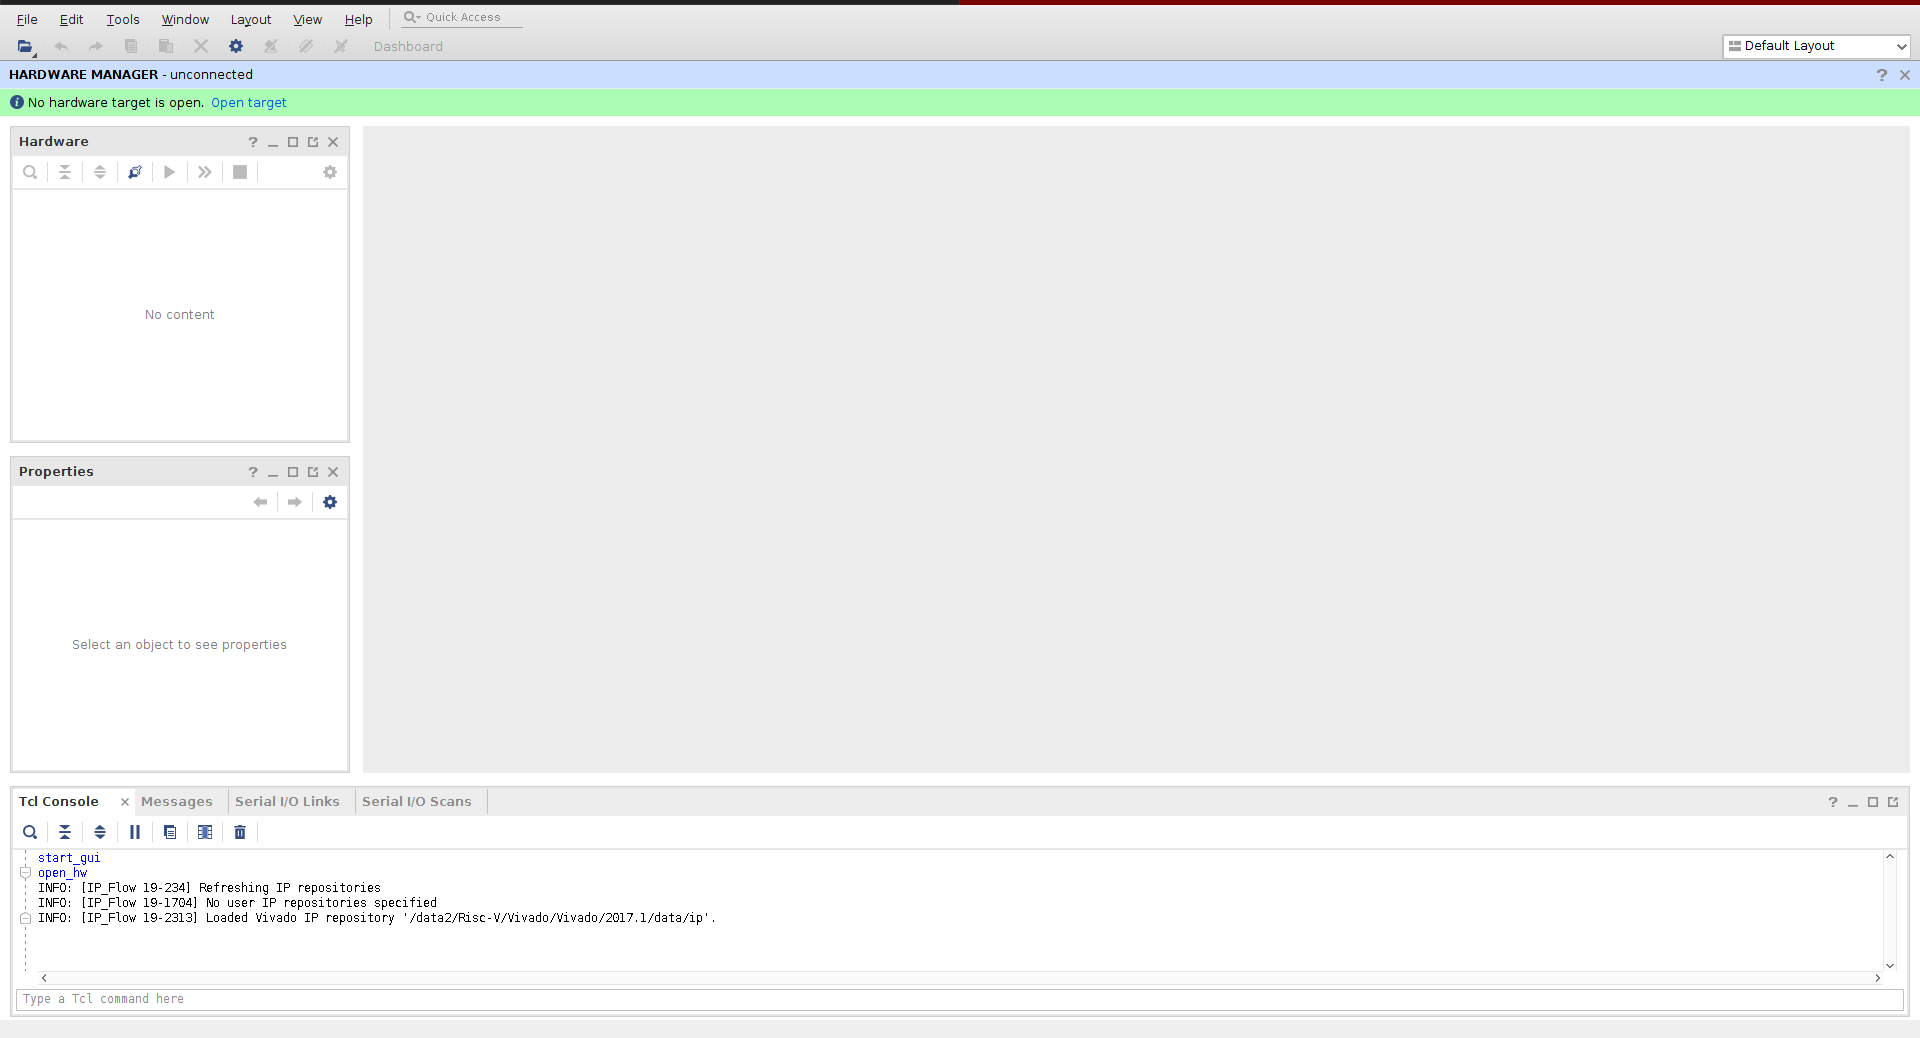
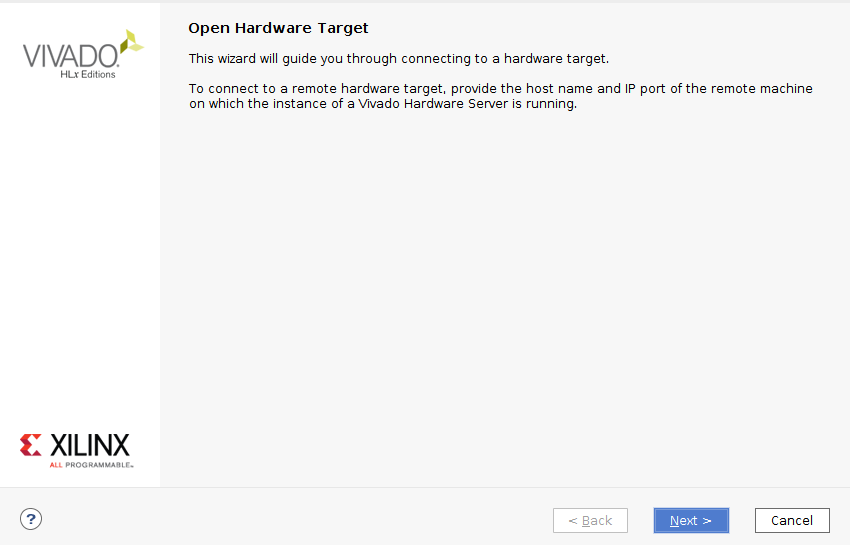
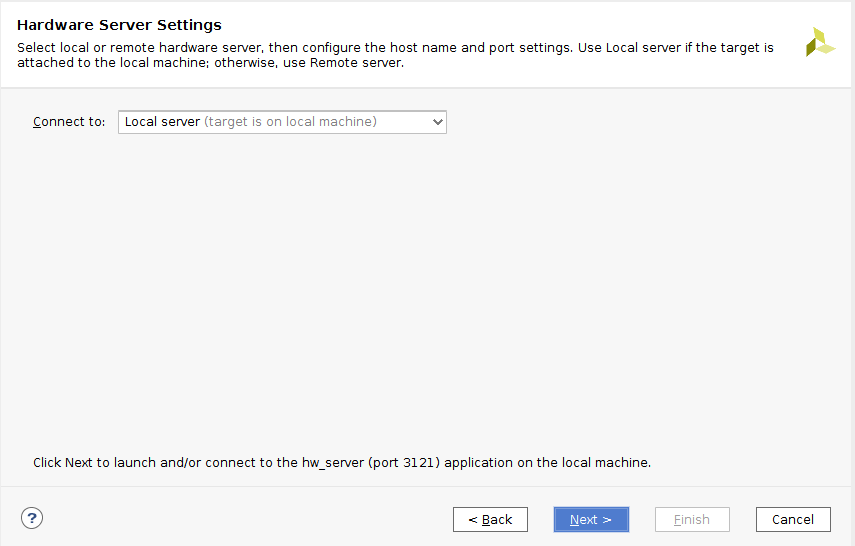
This could be done with the vivado software.$ vivadoKlick on "Open Hardware Manger".
"Open target" -> "Open New Target..."
Finish and see results
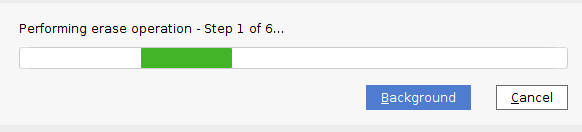
Press the "prog" button and see the results.
>Further Readings


Hi Matthias,
I did all the steps in an Ubuntu VM, but I get stuck at the “risc64-unknown-elf-objcopy -O binary demo_gpio demo_gpio.bin” command. Here is the error I get: risc64-unknown-elf-objcopy: command not found
Could this be something with the paths? Do you know how I might fix it?
Thanks!
Kind regards,
Lazar
where is the riscv-gnu-toolchain directory? And when I run make software, I get errors.
I am trying to run this on arty 100-T board but getting errors in uploading program.
adapter speed: 10000 kHz
Info : auto-selecting first available session transport “jtag”. To override use ‘transport select ‘.
Info : ftdi: if you experience problems at higher adapter clocks, try the command “ftdi_tdo_sample_edge falling”
Info : clock speed 10000 kHz
Error: JTAG scan chain interrogation failed: all ones
Error: Check JTAG interface, timings, target power, etc.
Error: Trying to use configured scan chain anyway…
Error: riscv.cpu: IR capture error; saw 0x1f not 0x01
Warn : Bypassing JTAG setup events due to errors
Error: Unsupported DTM version: 15
Info : Listening on port 3333 for gdb connections
Error: Target not examined yet
Error: Unsupported DTM version: 15
Warn : Flash driver of my_first_flash does not support free_driver_priv()
localhost:3333: Connection timed out.
“monitor” command not supported by this target.
“monitor” command not supported by this target.
You can’t do that when your target is `exec’
“monitor” command not supported by this target.
“monitor” command not supported by this target.
Successfully uploaded ‘demo_gpio’ to freedom-e300-arty.
Can you please help me with this?
Thanks.